What's this? Another post so soon?.. I'm rather embarrassed that I forgot to mention in my last post that I am newly RETIRED!. Have lots of spare time now.
I am nearly done with the construction part of my Fishing cabin but decided to take a break and start on making more accessories. I really wanted to start working with fabric so made some curtains and a valance. I don't know where this came from, but this method has been in the back of my mind for ages. Until now, none of my dollhouses needed curtains ( Flower shop, Wizards tower, Lighthouse or Bistro). I am so very pleased at how these turned out that I will use the same method when I make drapes for my next dollhouse. As usual, I suggest you make a sample first. Measurements are very important
You will need:
Styrofoam block covered with wax paper-not shown
Material- size depends on your window measurements. Add a little extra for the width adjustment
Clamps- at least 3
Two pieces of very stiff wire- (one will be for the valance). These will be your curtain rods
Each of the wires will be different lengths, one for the curtain and one for the valance. Cut them at least 2" longer than you need. You can trim the excess off later
Craft sticks- I use Skinny Sticks. They are only 6" long but 1/4" wide which makes them perfect for this
project.
Fray-chek
Long needle with a very large eye
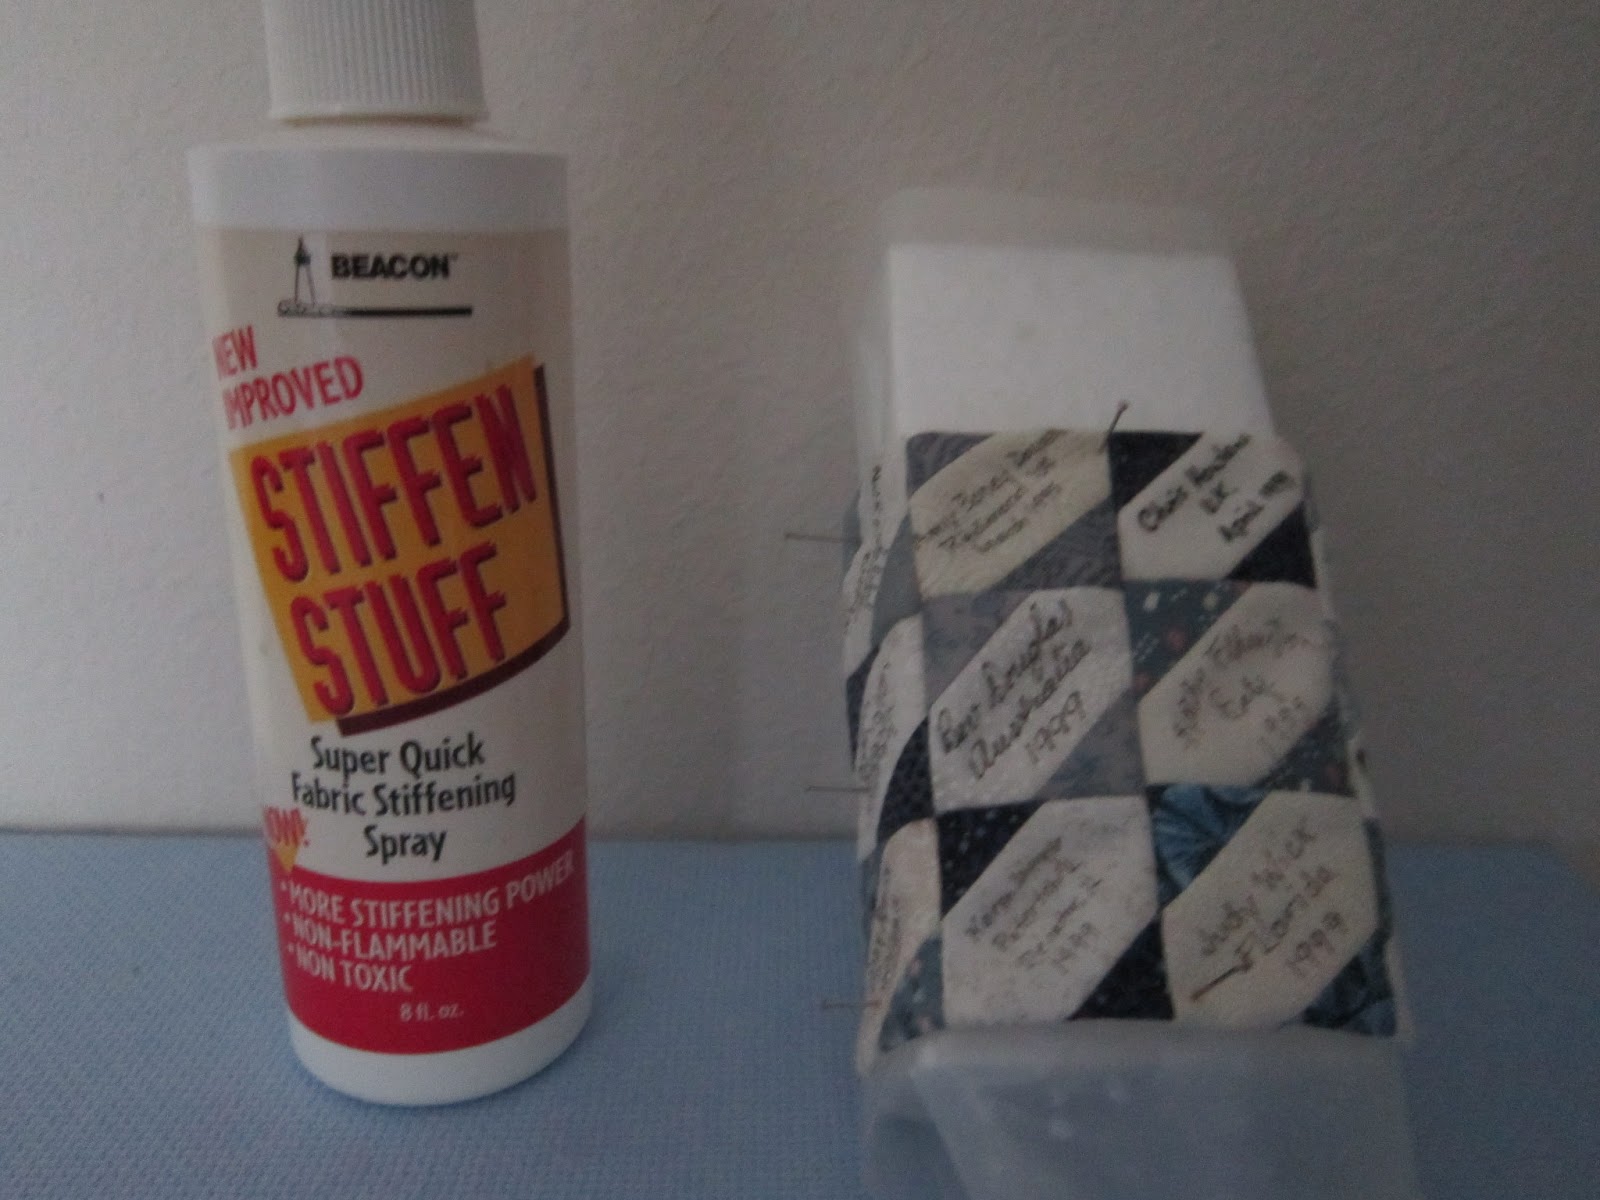
Stiffen Stuff- There is no chemical listing as to what this is made of, but I assume it's a form of liquid starch
(don't take my word for it though). I feel comfortable using it. It comes in a pump spray bottle
* Optional-Trim- either fabric or a very thin ribbon.
You will be "weaving" the fabric over and under the craft sticks as this picture shows. Be sure the very first stick and the very last stick are on the outside of the fabric. We will be clamping the sticks together and you don't want to leave any imprints.
At this point, you just might want to just keep going, and going and going (adding more sticks) to cover the full width of you window. ( It's easy to cut in half to make 2 panels.) Hopefully your clamps will expand wide enough but mine did not so I had to make 2 panels. Make sure the fabric lays smoothly on the sticks and secure with clamps.
Now the fun part. Instead of spraying the stiffener on, I took the cap off, held the styrofoam over a bowl and poured it on. Worked much faster. Let dry 24hrs. When dry, gently remove the sticks. Hold the curtains up to the window to see how much you need to trim off. After trimming, apply Fray-chek.. This is what you should have.
Another fun part. Take your needle and thread the curtain onto it, about 1/4" from the top. The purpose of this is to make a hole that you can thread your wire through. I had a little trouble with the holes closing up so I did have to clip 1 or 2 threads to make the hole wide enough.
*Optional- I took some ribbon and wove it over and under the craft sticks just like I did the curtains and soaked it in Stiffen Stuff. Now the trim is shaped the same and it's just a matter of gluing it to the curtains.
After all this work, this is what it should look like. Now it's just a matter of bending the ends of the curtain rod to fit your window. Whew! This part is done.
For the Valance- I stitched a very narrow casing and threaded the wire though. After gathering it as full as I wanted, I dunked it into Stiffen Stuff, let it dry and bent the wire
As soon as I'm ready to hang them up, I'll get another picture.
ABOUT BLOGGING
I really need some help here (pleading on bended knee) . I'll try to explain my problems as best I can along with some questions.
First. Is Google Reader (the one that has been discontinued) the same thing as Google Friends connect?
Can people still become followers using Google Friends Connect or do I need a different gadget?
( I'm planning a giveaway this fall and am asking the participants to become followers)
Second. I have Bloglovin and can read the blogs I follow from there.
I can still read the blogs I follow off my Dashboard.
But when I view my blog, I noticed that over half of the blogs I follow are missing from my Blogroll. How can I get them back? Most are supported by Google but do I have to add them manually?
It's very stressful being so Blogger ignorant.. Any help is truly appreciated.
Well' I'm off to "de-stress" my self and make some more minis
Til next time....
Diane


 .
.


